
Plants
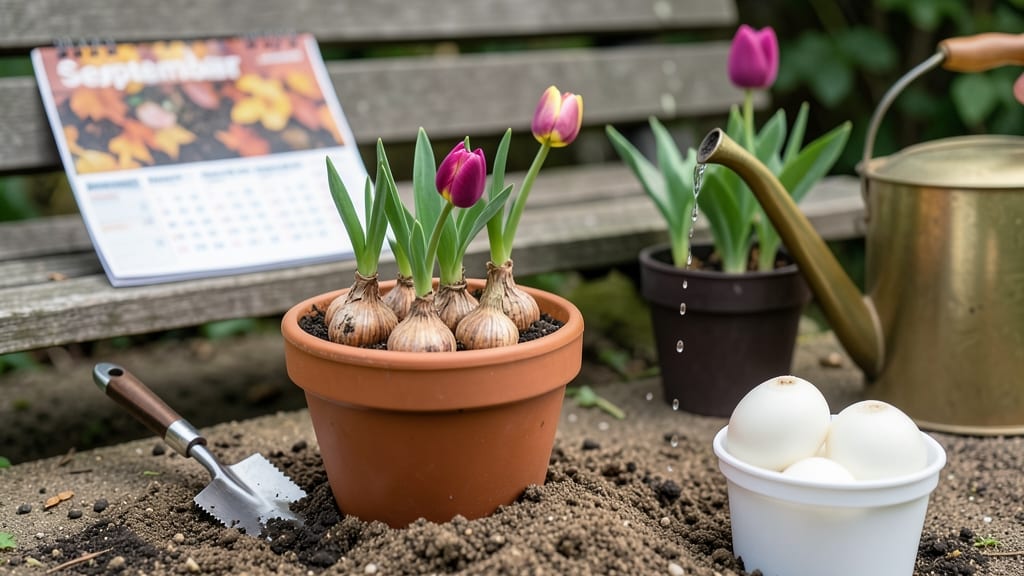
Knowing when to plant potted tulips in the ground can mean the difference between a stunning spring display and wasted bulbs. If you’ve ever dug up your tulips only to find them rotting or failing to bloom, timing is likely the culprit—and it’s easier to fix than you think.
For most gardeners in USDA Zone 6a, the ideal window is September through November, when soil stays cool but frost hasn’t arrived yet. But here’s the catch: tulips need chill hours to trigger blooming, and store-bought potted ones might not have gotten enough cold exposure.
I’ll show you how to check if your tulips are ready—and what to do if they’re not.
Beyond timing, soil prep is the key to success. Heavy clay or soggy ground can strangle bulbs before they even sprout, while loose, well-draining soil gives them the perfect start. We’ll cover exactly how to prep your garden bed and plant your tulips for maximum survival and vibrant spring blooms.
Whether you’re a first-time gardener or a seasoned pro, these steps will help you avoid common mistakes and ensure your 🌷 tulips thrive. Let’s get your garden ready for next year’s showstopper display!
Best planting times for potted tulips by climate zone
Timing is everything when planting potted tulips in the ground. Most gardeners focus on fall planting because tulips need a cold dormancy period (called chill hours) to bloom properly.
In warmer climates like USDA Zones 8-10, this means planting as early as August, while in colder zones like Zones 3-5, you can wait until late October or November.
The key is to plant 6-8 weeks before the first hard frost—this gives roots time to establish before winter.
If you live in a mild-winter zone (like Southern California or Florida), tulips may not get enough natural chill hours. In these areas, you’ll need to force dormancy by refrigerating potted tulips for 8-12 weeks before planting.
Without this step, your tulips might bloom poorly—or not at all! Always check your local frost dates (use the USDA Plant Hardiness Zone Map for guidance).
Here’s a quick rule of thumb: Soil temperature should be below 60°F (15°C) when you plant. If it’s warmer, roots won’t establish properly, and your tulips may rot.
Use a soil thermometer to check—it’s a small investment that saves big headaches later. Pro tip: Plant on a cool, overcast day to reduce stress on the bulbs.
Another common mistake? Planting too late. If you miss the window, your tulips may not bloom the following spring. Late-planted tulips often produce fewer flowers or skip blooming altogether. To avoid this, mark your calendar now—most gardeners aim for September to early November in temperate zones.
If you’re unsure about your chill hours, check your local weather records or use a chill-hour calculator (like the one from Michigan State University). Most tulips need at least 1,200 chill hours to bloom well, but some varieties (like Darwin hybrids) tolerate fewer.
Always read the plant tag—it often lists chill-hour requirements! For example, ‘Apeldoorn’ tulips need more chill hours than ‘Parrot’ tulips.
One more pro tip: Plant tulips in groups of 5-7 bulbs for a fuller look. Space them 4-6 inches apart in well-draining soil, and mulch with 2-3 inches of organic matter (like shredded leaves or straw) after planting.
This helps insulate roots during winter and retain moisture in spring. Avoid mulching too early—wait until after the ground freezes to prevent rot.
What if you miss the planting window? Don’t panic! You can still plant tulips in early spring (as soon as the soil is workable), but expect smaller blooms that year. The bulbs will still establish, and you’ll get better flowers next spring.
Just be prepared for less vibrant blooms if planted late. For the best results, though, fall planting is non-negotiable for most gardeners.
Finally, remember that container-grown tulips (like those bought at grocery stores) may need extra care. Since they’re often forced to bloom indoors, they might not have met their dormancy requirements.
If your potted tulips are still green and leafy when you buy them, they’ve likely been pre-chilled—but check the foliage color. If it’s yellowing, they’re ready for planting. If it’s still bright green, they need more cold exposure.
Soil preparation & planting tips for potted tulips
Before you move those potted tulips from container to garden bed, soil prep is non-negotiable. Tulips demand well-draining, nutrient-rich soil with a pH between 6.0 and 7.0—anything outside this range stresses the bulbs.
I’ve learned the hard way that compacted or waterlogged soil leads to rotten bulbs and missed spring blooms.
Start by amending your garden soil with compost or aged manure (2-3 inches mixed into the top 12 inches of soil). This improves drainage while adding organic matter. For heavy clay soils, mix in coarse sand or perlite to create pockets of air.
If your soil tests acidic, add pelletized lime to adjust the pH gradually over a few weeks.
When digging the planting hole, aim for a depth of 6-8 inches (about 3 times the bulb’s height). Space bulbs 4-6 inches apart in rows, leaving 12-18 inches between rows for dwarf varieties and up to 24 inches for standard tulips.
This spacing prevents crowding, which leads to smaller blooms and disease spread.
Gently remove the potted tulip from its container and loosen the roots if they’re circling. Place the bulb in the hole with the pointy end facing upward—this ensures proper growth direction.
Cover the bulb with soil, firming it lightly to eliminate air pockets. A 1-inch layer of mulch (straw or shredded leaves) helps retain moisture and regulate soil temperature.
After planting, water deeply to settle the soil and encourage root growth. Avoid overwatering, though—tulips need moisture, not soggy conditions. In regions with mild winters, a light winter mulch (2-3 inches) protects bulbs from freeze-thaw cycles, which can damage emerging roots.
In colder zones, let the soil freeze naturally for chill-hour fulfillment.
Pro tip: Label your tulip beds if you plant multiple varieties. Some tulips (like Darwin Hybrids) bloom later than others, and you’ll want to track which ones need staking or deadheading for repeat blooms. A simple popsicle stick with the name saves headaches in spring!